Welcome to our guide on installing a wall-hung toilet, a trendy and space-saving choice for modern bathrooms. Whether you’re a DIY enthusiast or a homeowner looking to understand the process, this guide will walk you through each step, ensuring your new fixture is both functional and stylish.
Wall-Hung Toilets
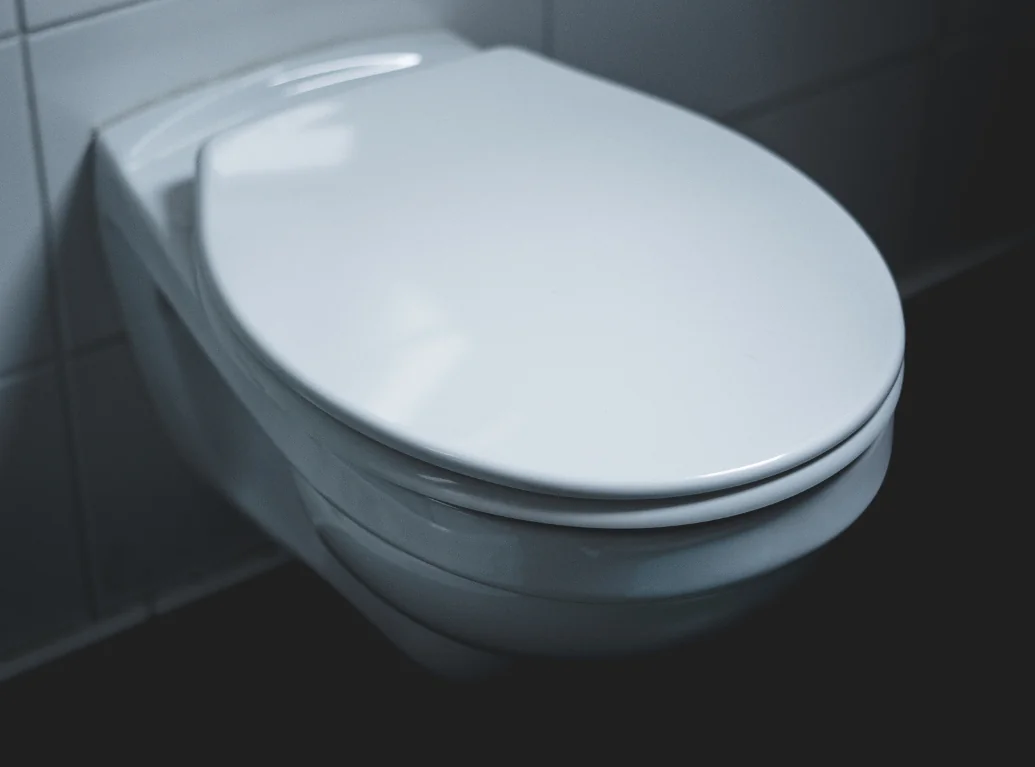
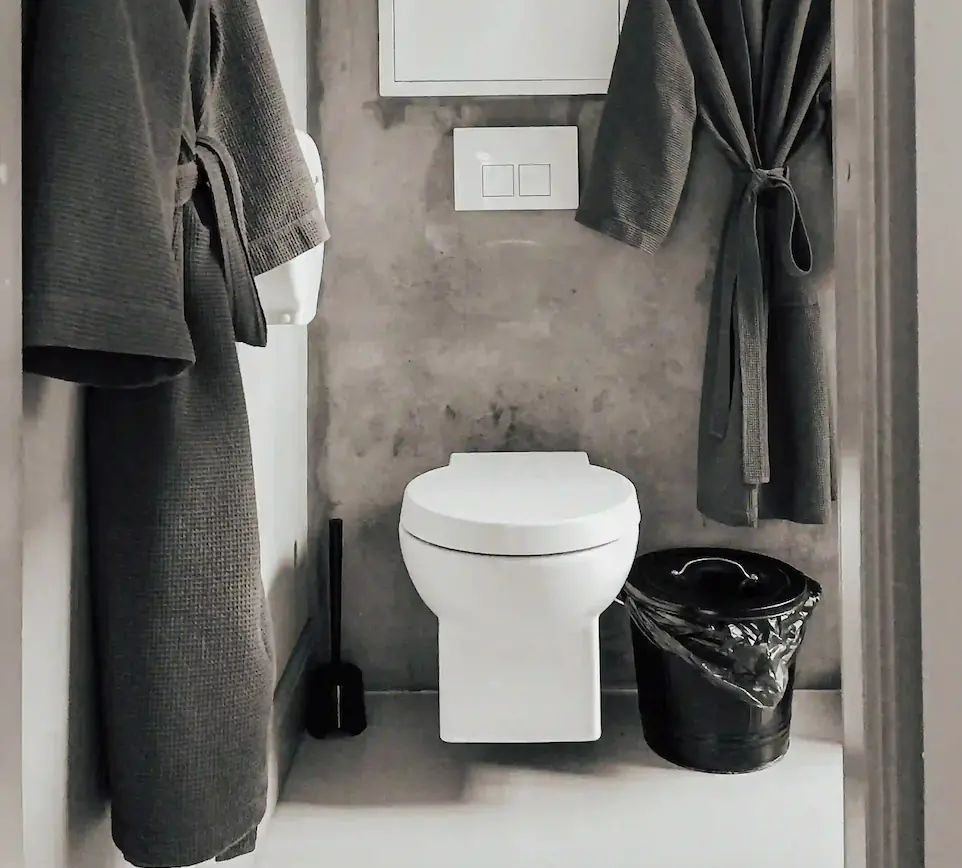
Before diving into wall-hung toilet installation, let’s briefly discuss what sets wall-hung toilets apart. These units are mounted on the wall, leaving the floor space beneath clear. This design not only offers a sleek, minimalist look but also makes cleaning a breeze. However, their installation differs from traditional floor-mounted models and requires careful planning and execution.
The advantages of wall-hung toilets
Let’s explore the advantages of choosing a wall-hung toilet for your bathroom
- Space Efficiency
Wall-hung toilets offer a remarkable advantage with their design that saves space, bringing both elegance and efficiency to your bathroom. Since the tank is concealed within the wall, these toilets occupy less space than traditional floor-mounted models. This feature makes them an ideal choice for small or awkwardly shaped bathrooms where every inch counts.
- Ease of Cleaning
The elevated design of wall-hung toilets makes cleaning around and beneath them a breeze. Without the nooks and crannies typically found around floor-mounted toilets, you can easily sweep and mop the floor underneath, maintaining a higher level of hygiene and cleanliness in your bathroom.
- Modern Aesthetic Appeal
Wall-hung toilets offer a sleek, minimalist look that can elevate the overall design of your bathroom.
- Customizable Height
Unlike standard toilets, the height of a wall-hung toilet can be adjusted during installation. This customization allows you to set the toilet at a comfortable height, catering to the ergonomic needs of different users, including children and those with mobility issues.
- Water Efficiency
Many wall-hung toilets come with eco-friendly flushing systems designed to reduce water usage. This efficiency not only helps in conserving water but can also lead to lower utility bills.
- Reduced Noise
Since the tank is concealed within the wall, the noise of flushing is often less pronounced than in traditional toilets. This feature can be particularly beneficial in smaller homes or apartments where sound travels easily.
Preparation and Planning
Before installing a wall hung toilet, you’ll need some tools and things to consider.
Tools and Materials Needed:
- Wall-hung toilet kit
- Carrier system for wall mounting
- Regular plumbing tools (wrenches, screwdrivers)
- Measuring tape
- Level
- Stud finder
- Drill
First, ensure your bathroom layout accommodates a wall-mounted toilet, considering the space saved and the adjustable height. Make sure you have access to the framing, waste pipes, and water supply elements since they are crucial for installation.
Remember to cut off the water supply before you start.
Verify that the wall where you plan to install wall hung toilet is strong enough to support the weight of the toilet and a user, the weight limit is 500 pounds. This is typically a load-bearing wall or a wall reinforced to bear the weight.
Installing the Carrier Frame
The carrier frame is the backbone of the installation. It not only supports the toilet but also houses the flushing system.
- Locate the Studs: Use a stud finder to determine the best mounting points.
- Position the Frame: The frame should be at the correct height and level. Most units require the bowl to be 16-18 inches from the floor. If you plan to lay tiles or other flooring on the floor, add 1 inch to the height of the bowl. The carrier frame must be securely attached to the wall. It’s not just supporting the toilet but also houses the flushing mechanism.
- Secure the Frame: Drill and bolt the frame to the studs, ensuring it’s stable and level. When attaching the toilet to the carrier frame, be careful not to overtighten the bolts, as this can crack the ceramic.
Plumbing Connections
Water Supply Line: Connect the water supply to the frame’s tank.
Waste Pipe Connection: Align the toilet’s waste outlet with the waste pipe in the wall.
Pay close attention to the water supply and waste connections. Leaks in these areas can lead to significant issues, after a while you may check whether your toilet is leaking. Test these connections thoroughly before finalizing the wall-hung toilets installations.
How to Install Toilet Bowl

- Aligning the Flush Pipe: Gently push the flush pipe, along with its seal, into place until it reaches a stopping point. This step ensures a secure and leak-free connection.
- Pipe placement and marking: Carefully position the pipes onto the sanitary unit. Observe where the pipes exit the unit and mark these points. This precise marking is crucial for the next steps.
- Сlean the ends of the pipes: Using a file, delicately smooth the ends of the pipes. This process removes any rough edges, facilitating a better fit and preventing potential damage to the seals.
- Inserting the Pipes: Now, fully insert the pipes back into the unit. This step should feel smoother and more precise thanks to your earlier filing work.
- Applying Soapy Water: Grab some soapy water and apply it to the connectors. This little trick eases the connection process, reducing friction and ensuring a snug fit.
- Assembling the Fixtures: Place the white plastic piece, followed by the nut and washer, onto the threaded rods. This arrangement secures the toilet in place and is a key step in the installation.
- Leveling the Bowl: At this point, it’s crucial to check that the bowl is perfectly level. If adjustments are needed, simply rotate the plastic pieces until the desired level is achieved. Precision here is key to a well-functioning toilet.
Finishing Touches
Flush Plate Installation: Install the flush plate to the frame, which allows access to the flushing mechanism. Also, ensure that the flushing mechanism is functioning correctly before finalizing everything.
Sealing and Caulking: Seal around the toilet for a neat finish and to prevent any water leakage.
Final Checks: Ensure everything is tight and there are no leaks when you flush.
Conclusion
Installing a wall-hung toilet can be a rewarding DIY project, adding a modern touch to your bathroom. By following these steps and ensuring careful planning and execution, you can achieve a professional-looking installation. Remember, installing a wall-hung toilet is not the easiest task, but it is possible, but if any step seems overwhelming, or if you have any problems or misunderstandings during the installation it’s always wise to consult with or hire a professional plumber.

