As an experienced plumber with years in the field, I understand the importance of maintaining household appliances for their longevity and optimal performance. Our experienced team providing a wide range of residential plumbing services including garbage disposals installation, and we have several effective ways to clean them properly.
One such often-overlooked appliance is the garburator, or garbage disposal. Neglecting its maintenance can lead to a range of issues, from unpleasant odors to serious plumbing problems.
In this article, we’ll delve into the essential practices for cleaning your garburator. This includes understanding the frequency of cleaning, uncovering some effective cleaning life hacks, evaluating commercial garburator cleaners, and discussing the potential consequences of poor maintenance.
Proper care of your garburator not only ensures a hygienic kitchen environment but also extends the life and efficiency of this indispensable kitchen appliance.
How Often Should You Clean Your Garburator?
First things first, how often should you clean this kitchen workhorse? The answer is simpler than you might think. Ideally, give your garburator a good cleaning every month or every week. This routine keeps it running smoothly and prevents any unpleasant surprises. But, life gets busy, so if you can’t stick to a monthly schedule, aim for at least once every two months.
Regular garburator cleaning prevents the buildup of food debris and minimizes the chances of nasty odors and clogs. It’s all about keeping your kitchen running smoothly.
Cleaning Life Hacks for Your Garbage Disposal

First of all, ensure the disposal is turned off. It’s always better to be safe than sorry when you’re putting your hand near the blades.
For the cleaning you may need:
- Ice cubes
- Rock salt (optional).
- Citrus peels (lemon or orange).
- Baking soda.
- White vinegar.
- Dish soap.
- A long brush (an old toothbrush or a disposal brush).
- Boiling water.
How to clean a garbage disposal?
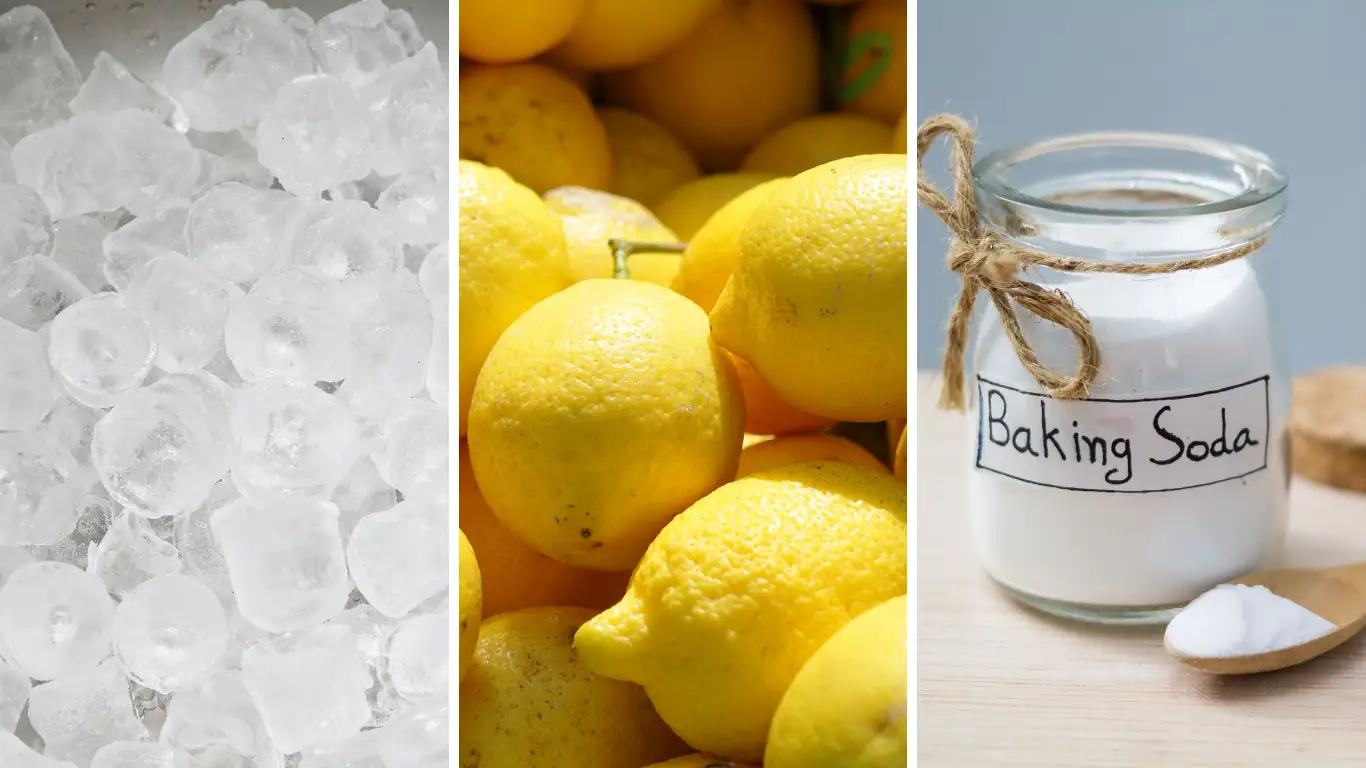
- Ice Cubes and Salt. Toss a handful of ice cubes and a cup of rock salt into the disposal. Turn it on and let it grind. This combo is fantastic for scrubbing away the gunk and sharpening the blades.
- Citrus Peels. After you’re done with the ice trick, throw in some citrus peels – lemons or oranges. They help in cleaning the blades and leave your sink smelling fresh and zesty.
- Baking Soda and Vinegar. For a deeper clean, pour half a cup of baking soda followed by half a cup of vinegar down the disposal. Let the fizzy magic happen for about 10 minutes, then flush it down with hot water. This is great for dissolving stubborn grime.
- Scrub with a Brush. Turn off the power to the disposal at the circuit breaker. Use a long brush to scrub inside the disposal, focusing on the areas around the blades and the rubber flaps at the top. This step is crucial for removing any stubborn residues.
- Final Rinse. Restore power to the disposal and run cold water through it for a minute to rinse away any remaining debris.
Garbage Disposal Cleaners: Are They Worth It?
While DIY solutions are great, sometimes you might need something stronger. Commercial garbage disposal cleaners are formulated to break down grease and food scraps effectively. Plus, they often come with a pleasant scent, leaving your kitchen smelling great. They’re convenient and easy to use.
You can easily order them on Amazon or HomeDepot, just make sure to choose a product that’s safe for your specific garburator model. They’re usually biodegradable and won’t harm your pipes. Remember, avoid harsh chemicals as they can damage the garburator and the environment.
The Risks of Not Cleaning Your Garburator

Ignoring your garburator’s cleanliness can lead to some serious plumbing problems:
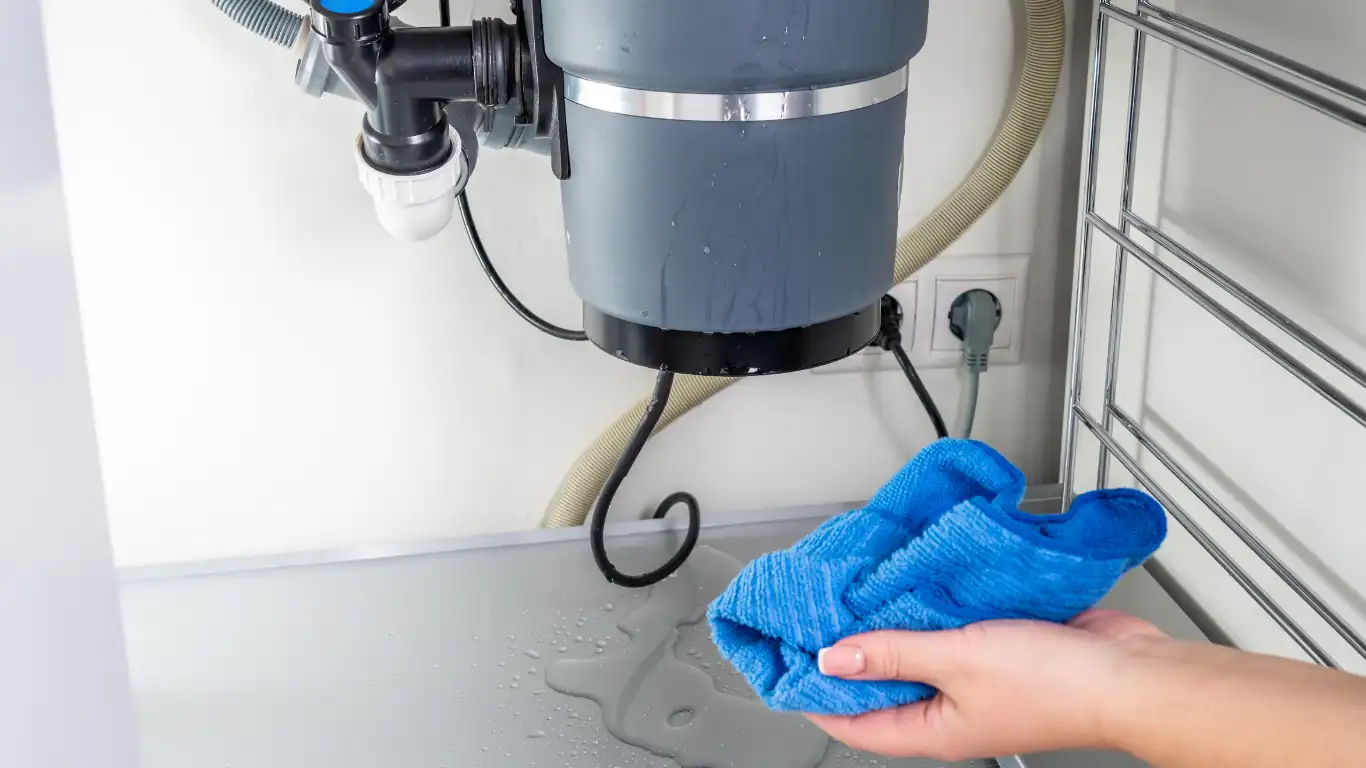
- Clogs and Jams: Food residue and grease can build up, leading to clogs or jams. This means more work and possibly calling in a professional (like yours truly) to fix it.
- Bad Odors: Old food particles can start to smell and trust me, that’s not a scent you want wafting through your kitchen.
- Reduced Efficiency: A dirty garburator works harder to do its job, which can shorten its lifespan and lead to costly repairs or replacements.
Conclusion
In conclusion, maintaining a clean garburator is not just about keeping your kitchen smelling fresh; it’s about ensuring the longevity and efficiency of an essential kitchen appliance.
Regular cleaning, using simple yet effective life hacks like the ice cube technique, citrus peels, and the baking soda-vinegar combo, can prevent clogs, unpleasant odors, and bacterial growth.
Remember, a little care goes a long way. By incorporating these cleaning habits into your routine, you’ll keep your garburator running smoothly and your kitchen environment healthy and pleasant.

